Recently I was asked if it would be possible to print some simple tags/signs for a raised bed in the garden. Sounds simple enough, let’s just drop down some texts in Blender, create a model for a tag, hit the export as .stl button and call let the 3d-printer do its thing.
But then the problems started, what font to use, go though all these steps for different fonts again? How to deal with the length of different words?
The answer – or should I say excuse to learn something new – was found in Blenders Geometry Nodes.
The basic idea was: Make the geometry of the text automatically being resized to the bounds of the tag/label/sign. After some youtube tutorials I gathered enough information to start. The rough outline looks like this:
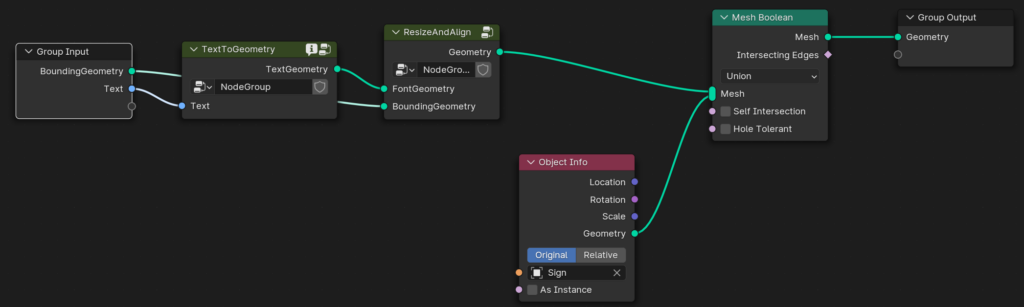
The size-constraint or boundingbox where the text should be generated is the input geometry (using the nodes as modifier). As input a text to generate and display is given. This makes it possible to have different texts for a set of objects using the same geometry node stack.
The first step is to generate a text geometry TextToGeometry.
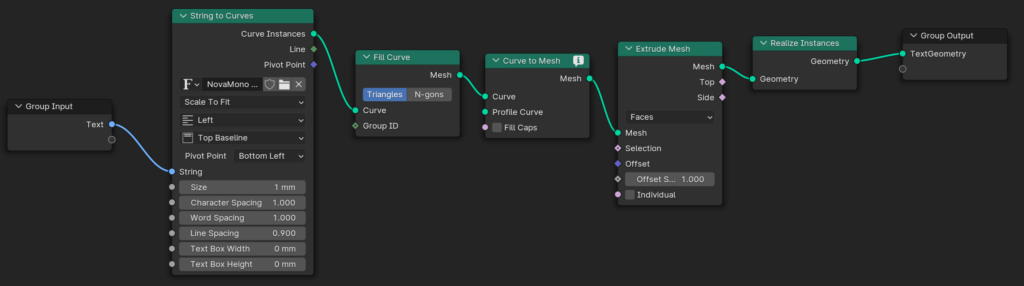
Internally this uses the nodes shown above. A string is transformed to a curve with a given font, the curves are filled, transformed to a mesh, these meshes (one for each character or even part of a character) are extruded to give them a volume. To enable the next steps these instances of characters are “merged” into one single geometry.
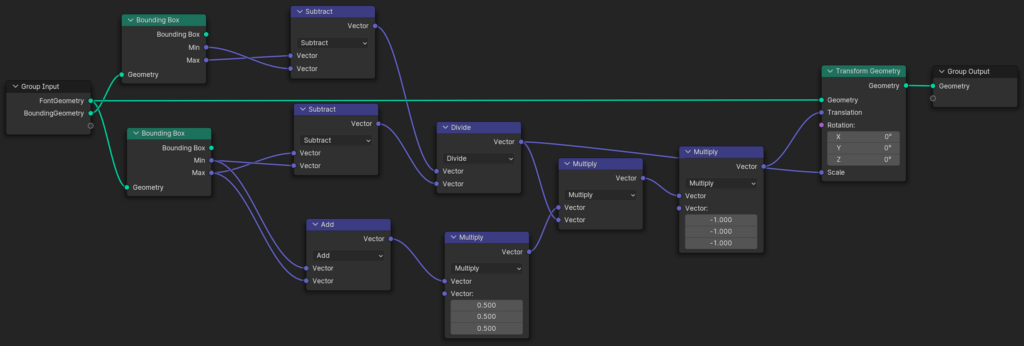
This is the resize and alignment step. Basically the size of the bounding geometry and the size of the text geometry is compared in order to derive the scaling factors for XYZ for the font geometry. Then the translation for the font geometry is calculated using the same scaling factor and size of the input geometry.
The final step, already visible in the first node image: Combine the text geometry with the hand-modeled tag geometry using a boolean Union operator.
The benefits of geometry nodes here is that it allows for easy swapping of the font as well as resizing the tag size. This way I could quickly iterate through a bunch of fonts and change the model of the tag to make it print better. The final design surely won’t win awards but here the journey was (part of) the goal.
I had to fiddle around with the tag geometry a bit to make it merge well and not cause artifacts when used in the slicer for 3d-printing.
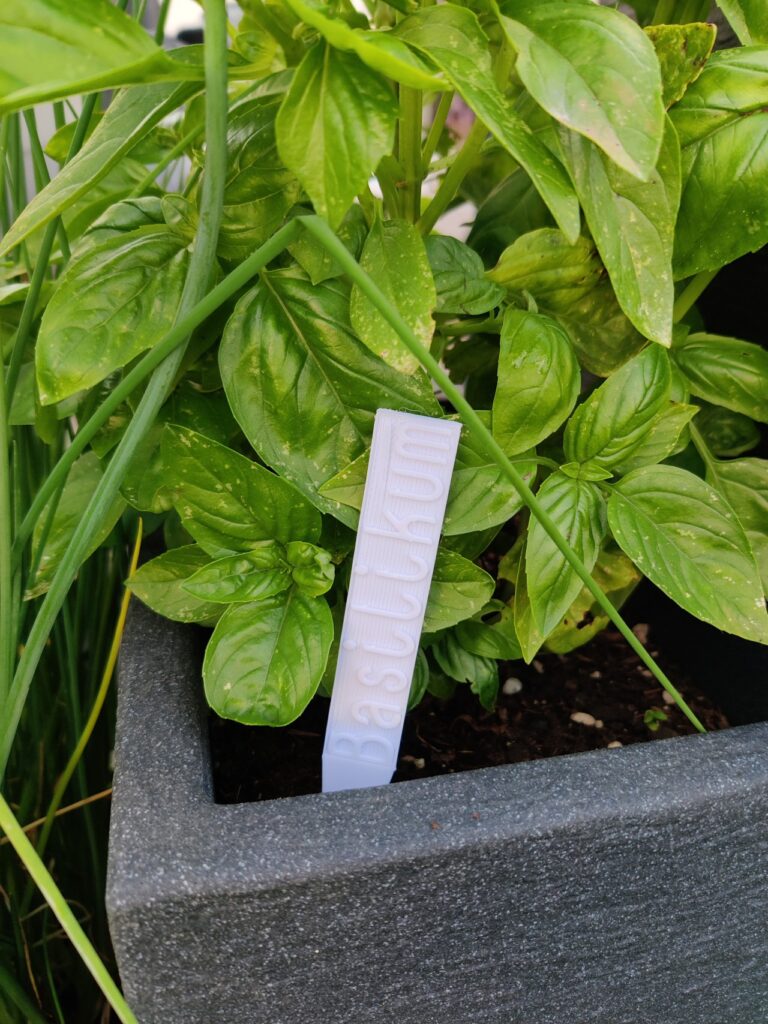
The final result:
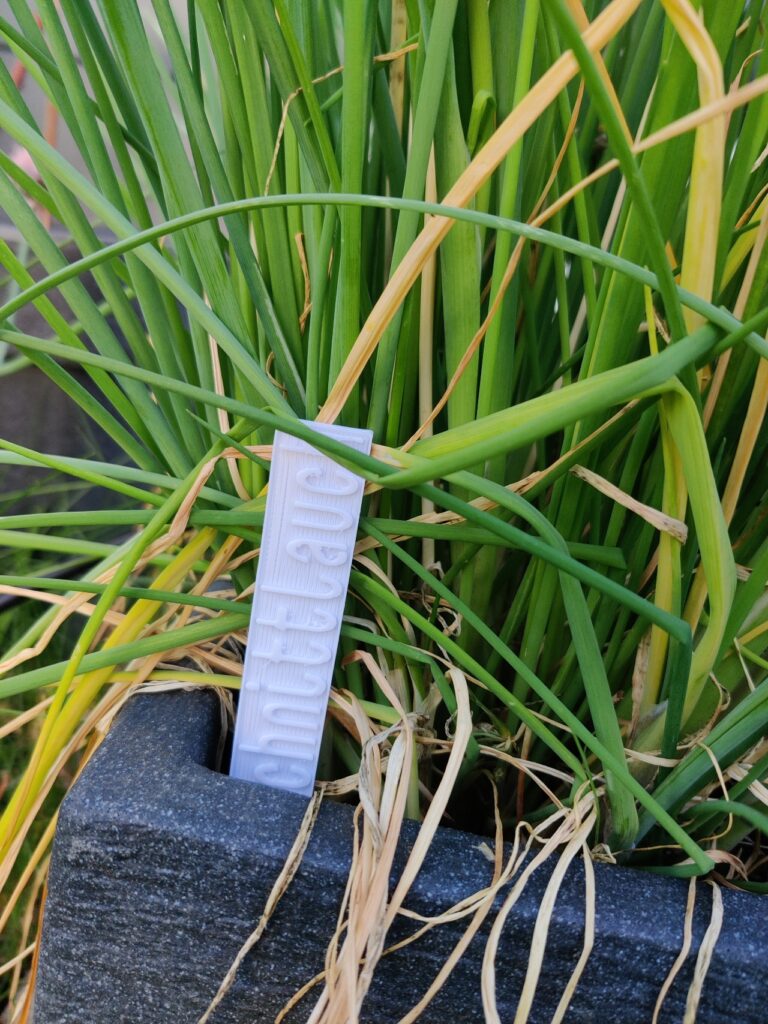
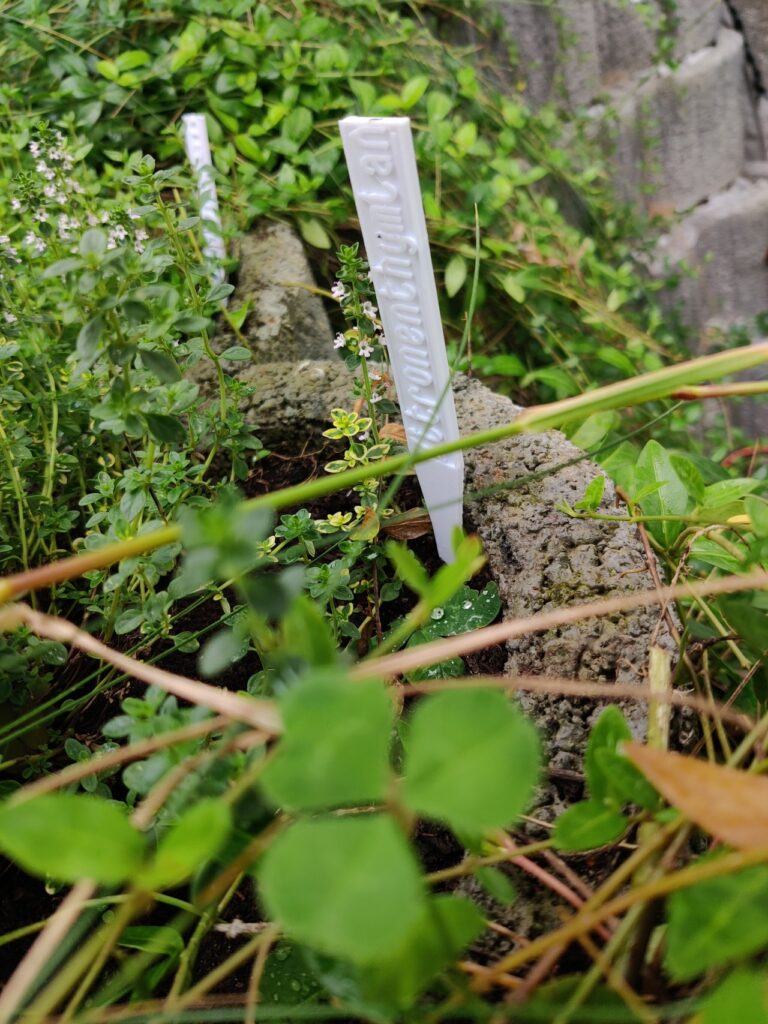
Tip from the *expert*: check your spelling before printing…